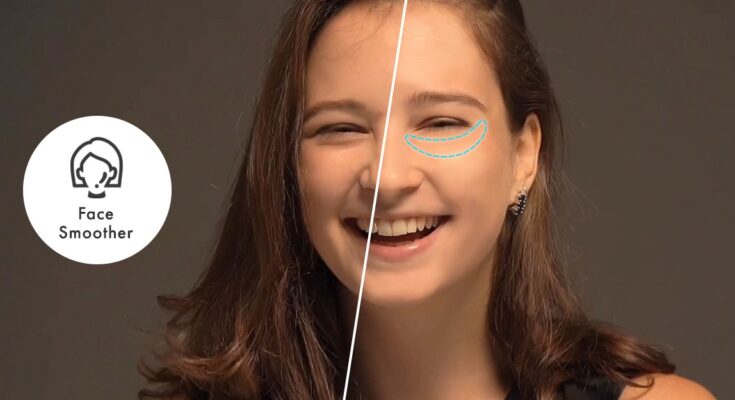
In today’s digital era, smooth face editing has become a popular way to enhance portraits for social media, professional headshots, or personal projects. This guide explores the best tools, techniques, and tips for achieving flawless yet natural-looking results.
What is Smooth Face Editing?
Smooth face editing refers to the process of refining skin texture in photographs to eliminate blemishes, wrinkles, and uneven tones while maintaining a natural appearance. It can range from basic touch-ups to professional-grade retouching. The goal is to enhance beauty without making the image appear overly edited.
Top Tools for Smooth Face Editing
Here are some of the best tools used by professionals and enthusiasts:
1. Adobe Photoshop
Adobe Photoshop is a gold standard for face editing. It offers advanced features such as:
- Healing Brush and Spot Healing Tool: Removes blemishes seamlessly.
- Frequency Separation: Balances texture and tone for natural results.
- Skin Smoothing Filters: Automates the process with AI-driven adjustments.
2. Lightroom
Ideal for batch editing and subtle touch-ups, Lightroom’s sliders let you adjust:
- Skin texture
- Clarity
- Shadows and highlights
3. FaceTune
A user-friendly app for mobile editing. Key features include:
- Smooth Tool: For quick blemish removal.
- Glow and Tone Adjustments: Enhances complexion in seconds.
4. Canva
Best for beginners, Canva offers simple retouching options like:
- Skin smoothing filters
- Blemish removal
Step-by-Step Guide to Smooth Face Editing
Follow these steps to edit faces like a pro:
Step 1: Choose the Right Image
Select a high-resolution image with good lighting. Low-quality images can make editing harder and less effective.
Step 2: Start with Basic Adjustments
Before diving into smoothing:
- Adjust brightness and contrast.
- Correct color tones for natural skin.
Step 3: Use Skin Smoothing Tools
Utilize tools like the Healing Brush or Smooth Tool to eliminate:
- Pimples
- Scars
- Dark circles
Step 4: Maintain Skin Texture
Avoid over-smoothing by preserving the skin’s natural texture. Use techniques like frequency separation in Photoshop to separate skin tone and texture for precise edits.
Step 5: Final Touches
- Enhance the eyes for added focus.
- Add a slight glow for a healthy look.
- Reduce shine on oily areas.
Tips for Natural-Looking Results
- Avoid Over-Editing: Overly smoothed faces can look artificial.
- Zoom Out Regularly: Always check the overall image to ensure it looks balanced.
- Use High-Quality Tools: Invest in tools like Photoshop for professional results.
- Practice: Regular editing will improve your skills over time.
Conclusion
Smooth face editing is an art that balances enhancing natural beauty and maintaining authenticity. Whether you’re using advanced software or beginner-friendly apps, the key is to practice moderation. With the right tools and techniques, you can achieve professional-quality edits that make your photos stand out!


