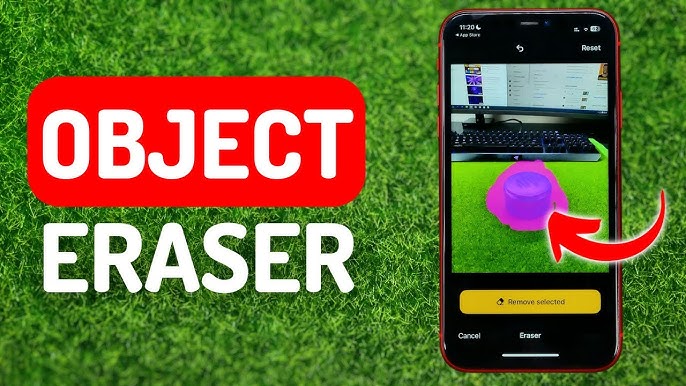
In today’s digital age, capturing flawless photos often involves post-editing. Whether it’s a stray object, a distracting background, or a passerby in a landscape shot, object removal can help transform a photo into a clean, polished image. Here’s a detailed guide on how to effectively remove unwanted objects from photos.
Why Object Removal Matters in Photo Editing
Object removal can dramatically enhance a photo’s visual impact by eliminating elements that disrupt the intended composition or focus. Whether it’s removing power lines, random people in the background, or blemishes, object removal provides a level of control and perfection that elevates the overall look of a picture.
Techniques for Object Removal in Photos
There are multiple ways to remove unwanted elements from photos, each with its own set of tools and software that cater to different levels of expertise.
1. Clone Stamp Tool
The Clone Stamp Tool is a powerful tool available in many photo editing programs, including Adobe Photoshop and GIMP. It lets you “clone” pixels from one area and paint them over the unwanted object.
- How to Use: Select the Clone Stamp Tool, choose a source area that matches the background, and paint over the object you wish to remove.
- Tip: For best results, frequently adjust the source point to maintain a natural look, especially in areas with patterns or textures.
2. Healing Brush Tool
The Healing Brush Tool is excellent for removing smaller objects or blemishes. Unlike the Clone Stamp, it doesn’t just copy pixels—it blends them to match the surrounding area.
- How to Use: Select the Healing Brush Tool, set a brush size that covers the unwanted object, and click or drag over it.
- Tip: This tool works well for minor edits on smooth surfaces, such as skin or backgrounds with subtle textures.
3. Content-Aware Fill
Content-Aware Fill is an advanced feature in Photoshop that can remove objects by analyzing surrounding areas and filling in the selection area with matching details.
- How to Use: Select the object with the Lasso or Marquee Tool, right-click, and choose “Content-Aware Fill.”
- Tip: This tool is particularly effective for backgrounds with repetitive or easily recognizable patterns, such as sky or grass.
4. Object Removal with Mobile Apps
Many mobile apps make it easy to remove objects without advanced knowledge of editing software. Some popular apps include Snapseed, TouchRetouch, and Adobe Photoshop Express.
- How to Use: Open your photo in the app, use the built-in object removal or healing tool, and simply paint over the unwanted element.
- Tip: These apps are especially useful for quick edits on the go and are easy to use for beginners.
Best Software for Object Removal
Selecting the right software can make a significant difference in achieving clean, professional results. Here are some top choices for both professional and beginner editors.
1. Adobe Photoshop
As the industry standard, Photoshop provides unmatched control over object removal. Tools like the Clone Stamp, Healing Brush, and Content-Aware Fill are all available, making it highly versatile for complex edits.
2. GIMP
For those seeking a free alternative, GIMP is an open-source photo editor with similar functionality to Photoshop. It includes tools like the Clone Tool and Heal Tool for effective object removal.
3. Snapseed
Snapseed, available on mobile, is user-friendly and offers a simple healing tool perfect for removing small, straightforward objects. It’s popular among both amateurs and professionals for quick edits on the go.
4. TouchRetouch
TouchRetouch is specifically designed for object removal. Its intuitive interface makes it a favorite among mobile users, and it performs well on common removal tasks like blemishes, wires, and people in the background.
Tips for Perfect Object Removal
To achieve the best results when removing objects from photos, consider these tips:
- Zoom In for Precision: Work closely on the photo for detailed areas to ensure that every edit looks natural.
- Use Blending Tools: After removal, use blending tools to smooth any harsh lines or inconsistencies.
- Take Time on Textures: When editing around textured surfaces (like sand, grass, or brick), take extra time to match patterns and prevent a repetitive look.
- Practice Layering: For complex edits, try working in layers. This way, you can go back and refine specific areas without disturbing the entire image.
Final Thoughts on Object Removal
Removing unwanted objects from photos can elevate a shot from good to great. By mastering these tools and techniques, anyone can create polished, distraction-free images that capture the intended subject perfectly. Whether you’re a seasoned photographer or just starting, object removal is a skill that will benefit every shot you take. With patience and practice, you’ll soon create images that look as clean and professional as you envision


